Requirements
- Linux Server
- Tested distributions: Ubuntu (20.04 or newer) or Debian.
- Sudo or Root Access
- Administrative privileges are required to execute necessary commands.
- cURL Installed
- Usually pre-installed on most Linux distributions. If missing, install it with:
-
Bash:
sudo apt install curl -y
- Disk Space
- At least 20 GB of free storage is recommended (adjust based on your photo storage needs).
Step 1: Run SelfStack
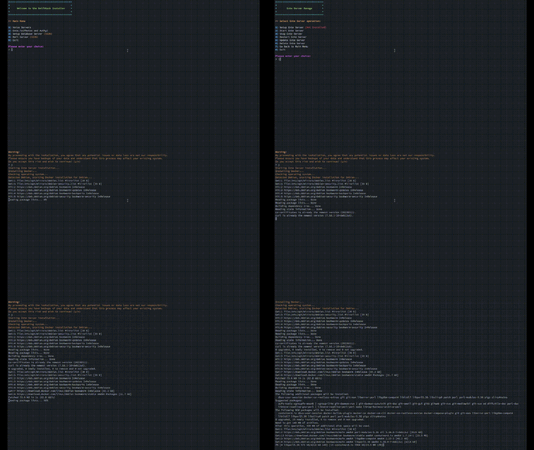
- Start by running the SelfStack script with the following command:
- Bash:
curl -O https://raw.githubusercontent.com/Bertigrad/SelfStack/refs/heads/main/SelfStack.sh && chmod +x SelfStack.sh && ./SelfStack.sh - This will launch the SelfStack menu. From there, navigate to the Ente.io section and follow the prompts to begin the installation.
Step 2: Enter PostgreSQL and MinIO Credentials
Enter the requested information for each service:
- PostgreSQL Username and Password
- MinIO Username and Password
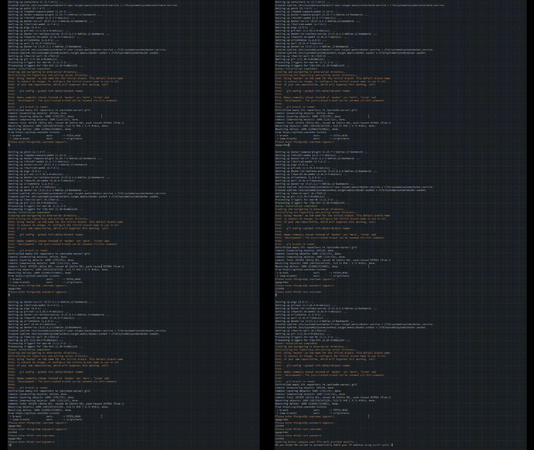
After entering the required credentials, SelfStack will begin the installation process.
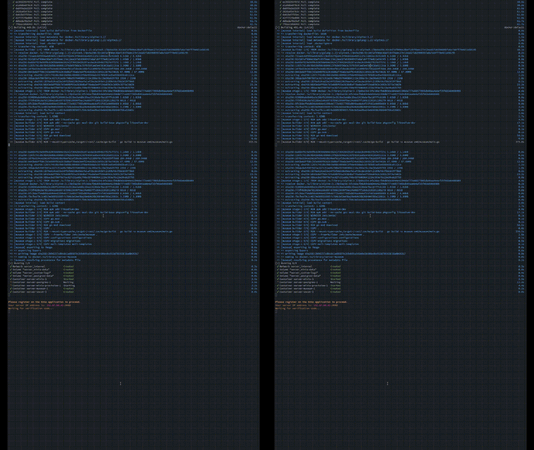
Wait until the script reaches the step where it prompts you for the verification code. This indicates that the installation has successfully reached the final setup phase.
Step 4: Configure the Ente App
Once SelfStack enters the verification code waiting phase, follow these steps to connect your Ente app to your self-hosted instance:
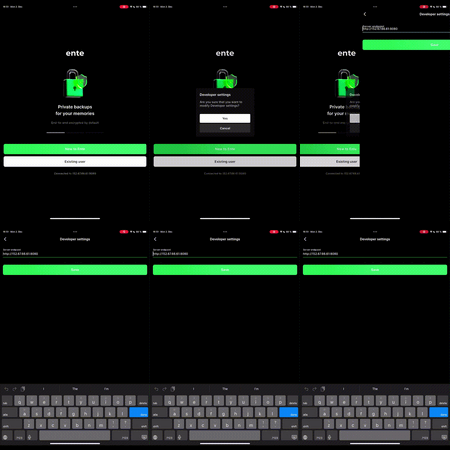
- Open the Ente Photos app on your mobile device.
- On the onboarding screen, tap 7 times to unlock the configuration settings.
- Enter the endpoint provided by SelfStack. This is the IP address shown during the installation process. For example:
-
Code:
http://127.0.0.1:8080 - Confirm the endpoint and proceed in the app to complete the connection.
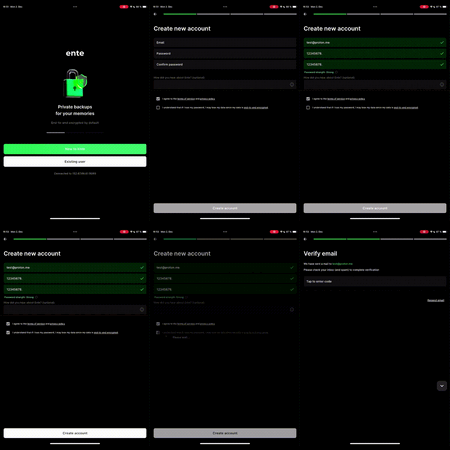
Step 5: Create a New Account
Once the connection to your self-hosted Ente Photos instance is successfully established:
- Open the Ente Photos app.
- On the login screen, choose the option to Create a New Account.
- Proceed through the setup prompts until you reach the email verification step.
- At this point, SelfStack will display your verification code.
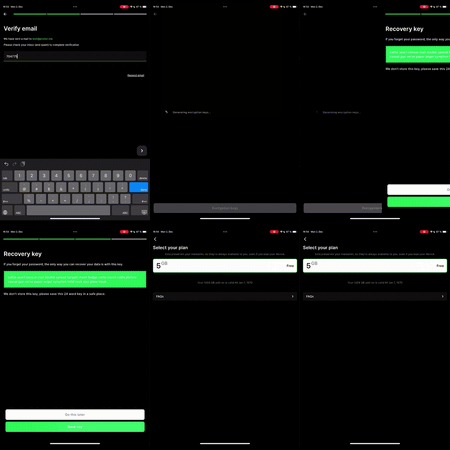
Step 6: Enter the Verification Code
Once you have received the verification code from SelfStack:
- Return to the Ente Photos app.
- Enter the verification code in the provided field on the email verification screen.
- Complete the setup process by following any remaining prompts.
Source:
Last edited:
